Caring for your hands is vital for climbing your best and avoiding injuries. With a little effort and the proper routine, your hands will stay healthy and ready to crush your next project!
If you’re serious about climbing—whether you’re dominating as a pro or just getting the hang of things—taking care of your hands is super important for your performance. It’s a delicate balance: You want hands that are hydrated, but not greasy. Tough, but not rough. Conditioned, but not soft.
Here are some tips for maintaining healthy, climb-ready skin before, during, and after every session.
To avoid cracks, splits, and nasty flappers, you have to keep your skin moisturized. Hydrated skin isn’t weak skin—healthy, elastic skin heals faster and holds up better under stress.
It may go against every fiber of your being, but try pre-climb moisturizing and see how your skin feels throughout your session. You’ve got to plan ahead. Wash your hands and apply a layer of high-quality hand cream 1-2 hours before you hit the gym, boulder, or crag. Make sure it’s not wax-based—a waxy residue on your hands will leave a slimy mess on everything you touch.
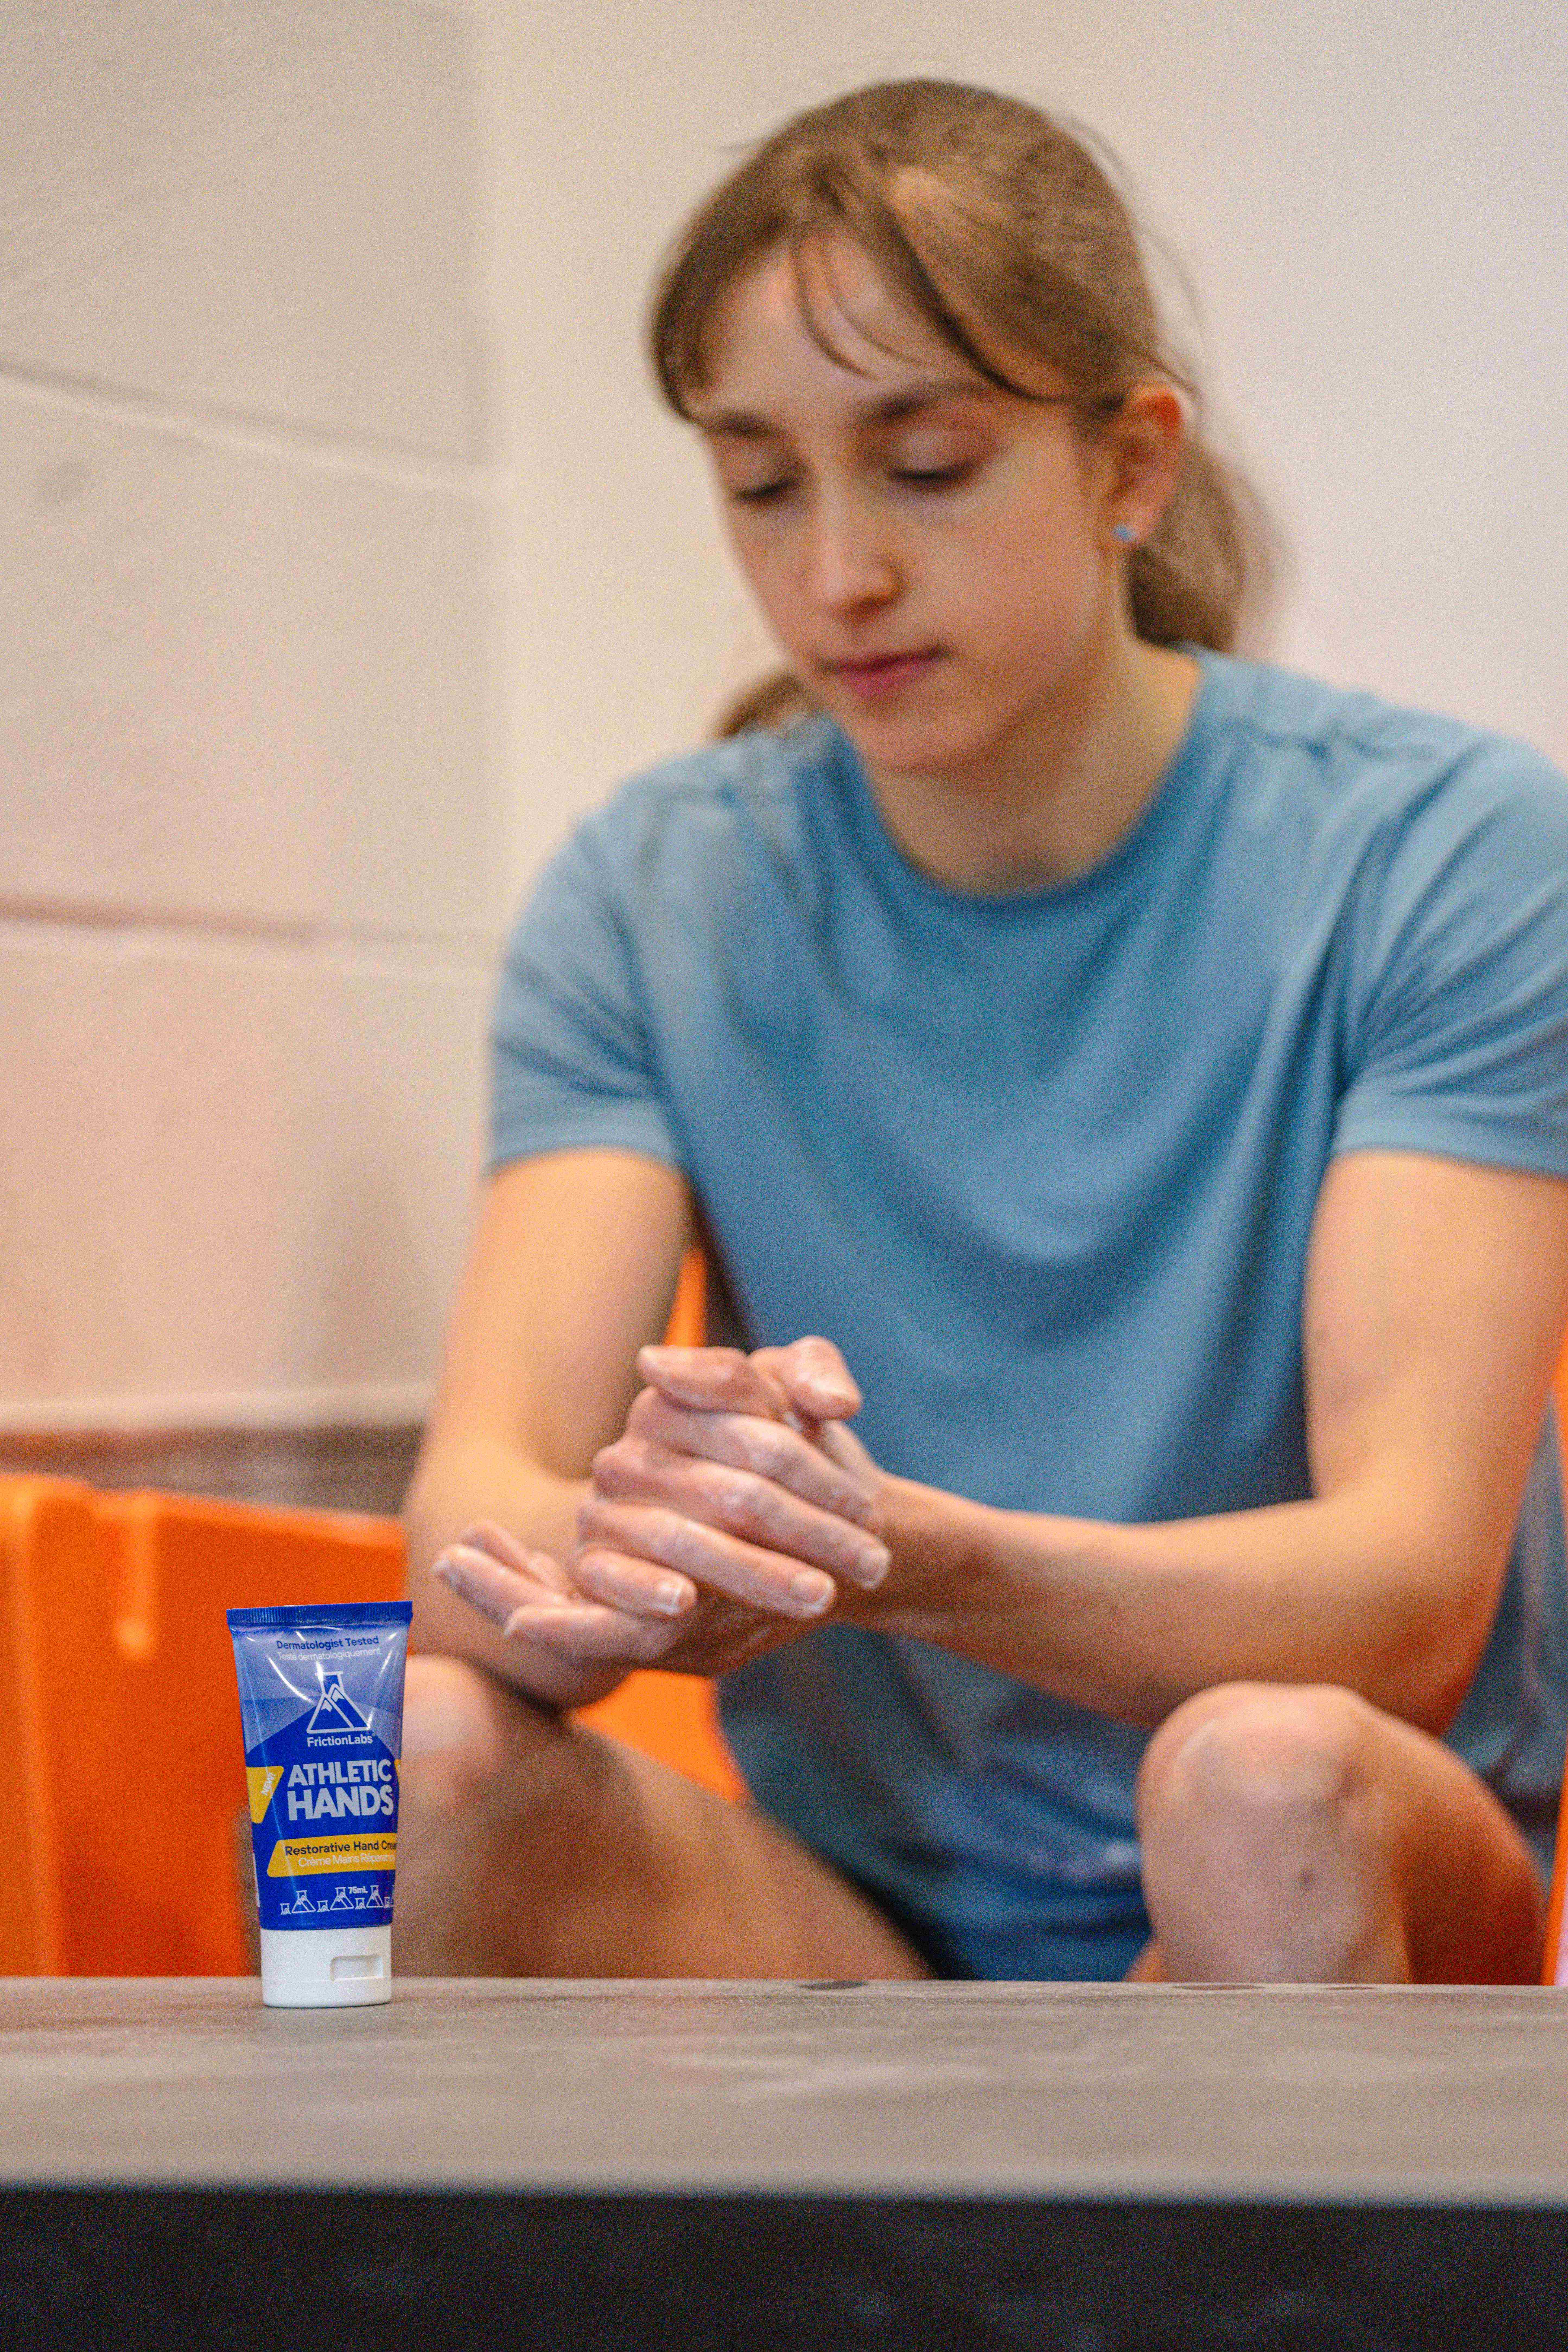
PRO TIP: Not all hand creams are created equal. Ordinary lotions aren’t built to withstand the friction, chalk, and rugged wear that climbers' hands go through. Make sure you look for hand creams designed for athletes that will deeply hydrate (without leaving your skin greasy), help your skin recover faster, and protect it without messing with your grip—all crucial for staying on your game and minimizing the risk of injuries. If you’re looking for a product that absorbs and dries quickly without an oily residue, give Athletic Hands™ a try.
While waiting for the hand cream to sink in, spend a little time tidying up your fingernails so they aren’t too long, too short, or jagged. Snagging, bending, or breaking a nail mid-climb is some of the worst pain ever.
When trimming, leave a bit of white at the tips—don’t cut down to the quick—and round the edges to prevent hangnails. The best way to do this is with an emery board or sanding block so you can shape the nail cleanly.

Tough, smooth calluses are your friend when climbing! They provide a natural shield against sharp holds and allow you to climb longer when maintained correctly. The goal isn’t rock-hard, peeling calluses (ouch!) but relatively smooth, flat ones that protect your fingers without snagging. Striking the balance between well-conditioned and callused skin takes effort, but it’s doable.
Before your session, file down calluses with raised areas—you don’t want to risk one splitting open. A durable, pocket-sized, double-sided file with curved edges works great for your fingers and palms. Look for one with replacement strips to make it last longer.
As you’re about to get started, assess the condition of your fingers and hands and check for any existing damage. If you aren’t quite healed from a previous session (or just have extremely dry, cracked hands), use climbing tape to prevent issues from worsening and ruining your day. (Read our blog on why and how to tape fingers for climbing.)
The chalk you use makes a big difference. High-quality chalk doesn’t have drying agents or impurities that make your skin less flexible. Premium chalk provides better sweat absorption, gives you a better grip, and keeps your hands in better shape, even during those long, intense sessions—without cracking or over drying.
It’s helpful to adjust your chalk approach depending on your climbing conditions.

Tune into Your Hands
It’s easy to get caught up in your climb and focus so much on the next hold that you don’t notice a split or tear starting to form. Regularly check your hands during your climb and take care of any issues IMMEDIATELY to avoid getting an infection, bleeding on holds, or making a minor injury worse. You might need to:
No one wants to end a climbing session early, but it’s better to play it safe than to risk needing time off while your hands heal!
After a climb, wash off chalk, dirt, and germs with soap and water. Clean any cuts well, apply antibiotic ointment, and cover with a bandage. See a doctor if you notice swelling, warmth, or other unusual signs.
This content is not a substitute for medical advice. Please consult a qualified medical professional for advice specific to your situation.
If you’re new to climbing, get ready for blisters—they’re a rite of passage. If your blister remains intact, try not to pop it since it acts as a natural "bubble" protecting the raw skin underneath. Cover it with a sterile bandage or blister pad, and avoid rubbing the area.
If the blister has popped, clean it gently, apply some antiseptic, and cover it with a non-stick bandage to prevent it from sticking. You can also try a hydrocolloid dressing, which helps speed healing by keeping the area moist and protected. Give your hand a break from climbing until the blister’s fully healed.
Remember, this isn’t medical advice—always check with a healthcare professional!
Blisters eventually toughen into calluses—that’s the goal! But here’s the thing: keeping them smooth and flat is key. Rough, raised calluses are more likely to tear, and that’s no fun. Take a few minutes after each climb to file down any rough spots—it’ll save you pain later!

Once your hands are clean and smooth, it’s time to moisturize again! For the best results, make it a habit to moisturize before bed and after you wash your hands. It’ll help your skin recover quicker and be ready for your next climb!
Take care of your hands—they’re your most valuable climbing tool!
